
MySQL Root Password Recovery in Safe Mode on Ubuntu
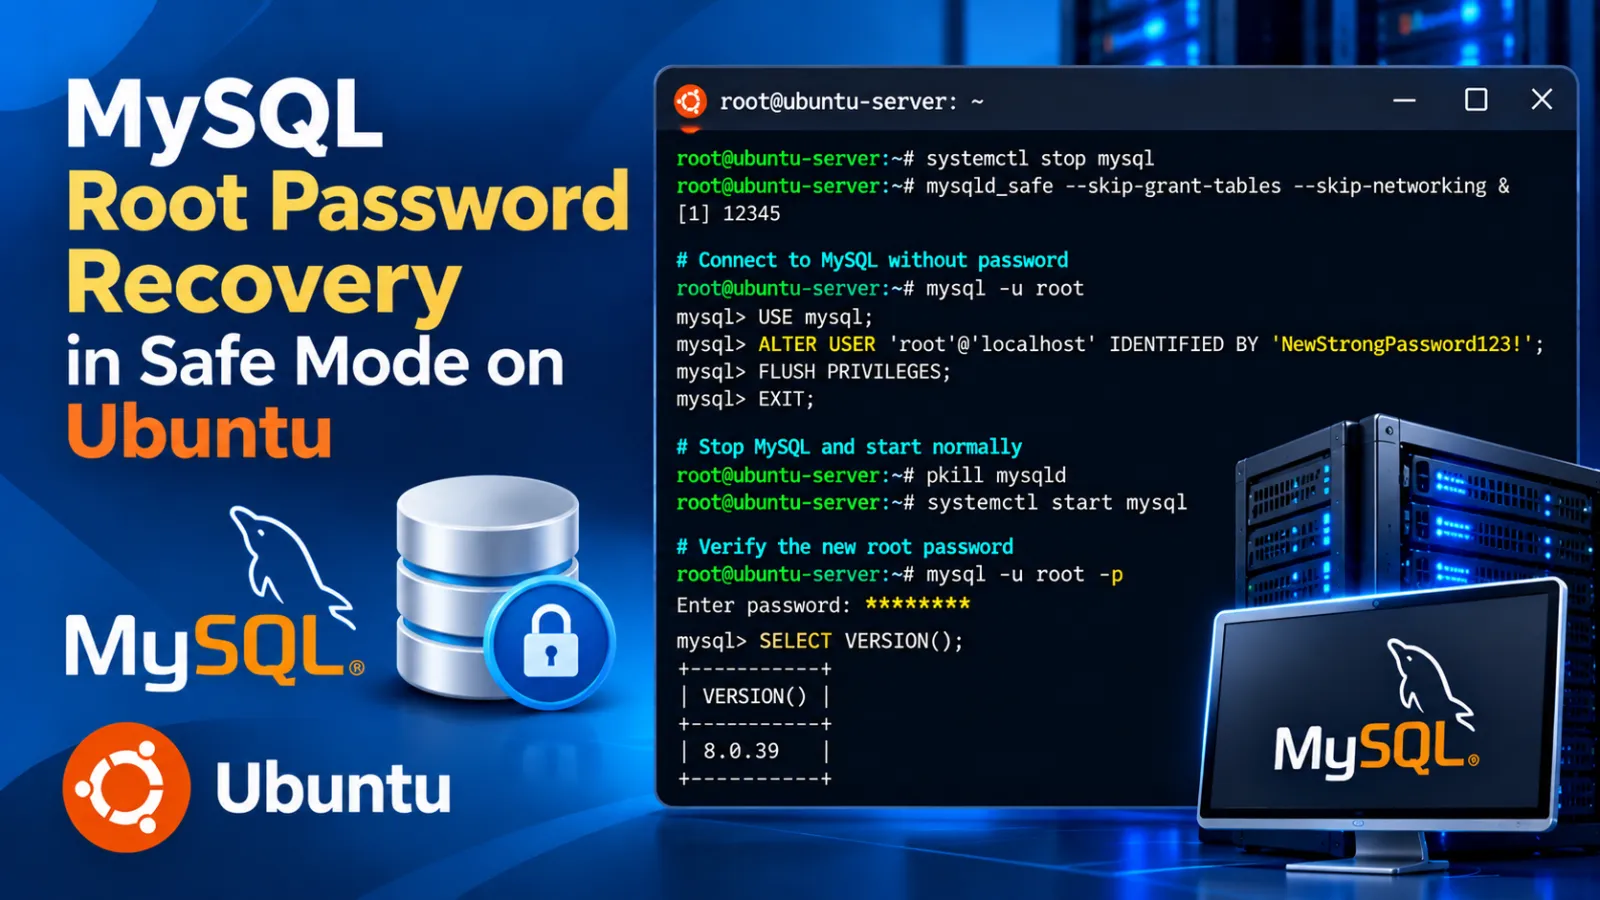
MySQL Root Password Recovery in Safe Mode
This tutorial explains how to recover access to the MySQL root account on Ubuntu when normal password authentication is no longer working. The process starts MySQL with grant tables disabled, allows a local root login without the existing password, resets the root password, and then starts MySQL normally again.
Suggested categories: Linux, MySQL, Database, Security
Issue
The following errors may occur when the MySQL root account can no longer be authenticated:
mysql -u root -p
ERROR 1045 (28000): Access denied for user 'root'@'localhost'

sudo mysql
ERROR 1045 (28000): Access denied for user 'root'@'localhost'
This indicates that normal root authentication is not working and the standard login method is no longer available.
--skip-networking enabled during recovery so MySQL is not accepting normal network connections.Step 1: Stop MySQL Service
Stop the MySQL service first:
sudo systemctl stop mysqlVerify whether any MySQL processes are still running:
ps aux | grep mysqlIf MySQL processes are still present, terminate them:
sudo pkill -9 mysqldStep 2: Create the Missing MySQL Socket Directory
MySQL safe mode may fail to start when the Unix socket directory does not exist:
Directory '/var/run/mysqld' for UNIX socket file don't existsCreate the directory and assign the expected ownership and permissions:
sudo mkdir -p /var/run/mysqld
sudo chown mysql:mysql /var/run/mysqld
sudo chmod 755 /var/run/mysqld
Step 3: Start MySQL Without Authentication
Start MySQL in recovery mode with grant tables disabled and networking disabled:
sudo mysqld_safe --skip-grant-tables --skip-networking &Wait approximately 10–15 seconds for MySQL to start.
Verify that MySQL is running:
ps -ef | grep mysqldStep 4: Log In Without a Password
Because grant tables are skipped, you can connect locally without the existing root password:
mysql -u rootStep 5: Reload Privileges
Attempting to change the password immediately may produce:
ERROR 1290 (HY000): The MySQL server is running with the --skip-grant-tables optionReload the privilege tables first:
FLUSH PRIVILEGES;Step 6: Reset the Root Password
Reset the password for the local MySQL root account:
ALTER USER 'root'@'localhost'
IDENTIFIED BY 'CHANGE_THIS_TO_A_STRONG_PASSWORD';
Apply the privilege changes:
FLUSH PRIVILEGES;CHANGE_THIS_TO_A_STRONG_PASSWORD with your own strong password.Step 7: Stop Recovery Mode
Stop the temporary MySQL recovery processes:
sudo pkill -9 mysqld
sudo pkill -9 mysqld_safe
Verify that no MySQL processes remain:
ps -ef | grep mysqlStep 8: Start MySQL Normally
Start the MySQL service normally again:
sudo systemctl start mysqlCheck the service status:
sudo systemctl status mysqlExpected status:
Active: active (running)Step 9: Test Root Login
Test the new root password:
mysql -u root -pEnter the newly configured password. A successful login confirms that the recovery process is complete.
Useful Troubleshooting Commands
Check MySQL Version
mysql --versionCheck MySQL Service Logs
sudo journalctl -xeu mysql.service --no-pagerCheck MySQL Error Log
sudo tail -100 /var/log/mysql/error.logCheck Root Authentication Plugin
After logging into MySQL, check which authentication plugin is configured for the root account:
SELECT user,host,plugin
FROM mysql.user
WHERE user='root';
Optional: Create a Separate Administrative User
Instead of using the root account for daily administration, you can create a separate local administrative account:
CREATE USER 'adminuser'@'localhost'
IDENTIFIED BY 'CHANGE_THIS_TO_A_STRONG_PASSWORD';

GRANT ALL PRIVILEGES ON *.* TO 'adminuser'@'localhost'
WITH GRANT OPTION;

FLUSH PRIVILEGES;ALL PRIVILEGES ON *.* ... WITH GRANT OPTION has very high privileges. Use a dedicated administrative account only when that level of access is required.Recovery Flow
Stop MySQL
      ↓
Create /var/run/mysqld if required
      ↓
Start mysqld_safe with --skip-grant-tables --skip-networking
      ↓
mysql -u root
      ↓
FLUSH PRIVILEGES
      ↓
ALTER USER 'root'@'localhost' ...
      ↓
Stop recovery mode
      ↓
Start MySQL normally
      ↓
mysql -u root -p
      ↓
Recovery complete
Important Notes
The commands in this tutorial are intended for local MySQL recovery on a server you administer. During the recovery window, MySQL is intentionally started with normal grant-table authentication disabled. Keep the recovery period as short as possible, leave --skip-networking enabled, and return MySQL to its normal service configuration as soon as the password has been reset.
Suggested final title for the website: MySQL Root Password Recovery in Safe Mode on Ubuntu
Discussion (0)