Create an Ubuntu SSH User with Public Key Authentication Using PuTTYgen

AWS Cloud Linux September 26, 2026 20 Views 5 min read
Create an Ubuntu SSH User with Public Key Authentication Using PuTTYgen

Why Use SSH Public Key Authentication?

Sharing the server password among multiple team members is generally not a good practice. It makes access management more difficult and the same password may be exposed, reused, or shared with people who no longer need access.

A better approach for internal servers is to create a separate Linux user for each person and configure SSH public key authentication. Each user keeps their own private key, while the server stores only the corresponding public key.

  • Each person can have their own SSH account instead of sharing one password.
  • Access can be granted or removed for an individual user without changing the server's main password.
  • The private key remains with the user and should never be shared with other people.
  • User-level permissions can be controlled through Linux groups and sudo configuration.
  • Access can be associated with a specific Linux username, making administration easier.
  • For internal servers, this is useful when multiple developers, administrators, or support engineers need controlled SSH access.

What About AWS EC2 Servers?

The same approach can also be useful for AWS EC2 Linux instances. Instead of sharing the original EC2 SSH private key (.pem) with every administrator or developer, you can use the original key to access the server initially, create individual Linux users, and then configure each user's own SSH public key.

AWS EC2 Instance
        │
        ├── John
        │     └── John's SSH public key
        │
        ├── developer1
        │     └── Developer 1 public key
        │
        └── admin1
              └── Admin 1 public key

Each person can then connect using their own Linux account and private key:

ssh developer1@SERVER_IP

Using individual accounts makes access management more granular than distributing the same private key to multiple people.

Important Security Practice

The private key must never be uploaded to the server or shared with another person. Only the public key should be added to the user's:

~/.ssh/authorized_keys

The original EC2 private key should also be stored securely for emergency or recovery access according to your organization's access policy.

Best Practice: Give each administrator or developer a separate Linux account and their own SSH key pair. Avoid sharing a common server password or the same private SSH key between multiple users.

Tutorial Purpose

In this tutorial, we will create an Ubuntu user, configure the user's SSH public key, and use PuTTYgen to generate and manage the key pair. The same basic approach can be used for both internal Ubuntu servers and AWS EC2 Linux servers.
Please follow below steps

Open PuttyGen.exe

Click on Generate and move mouse all around and then save private key

Save this private file to some location


Then open the same PPK file by clicking on load and select the value starting with ssh-rsa like below --

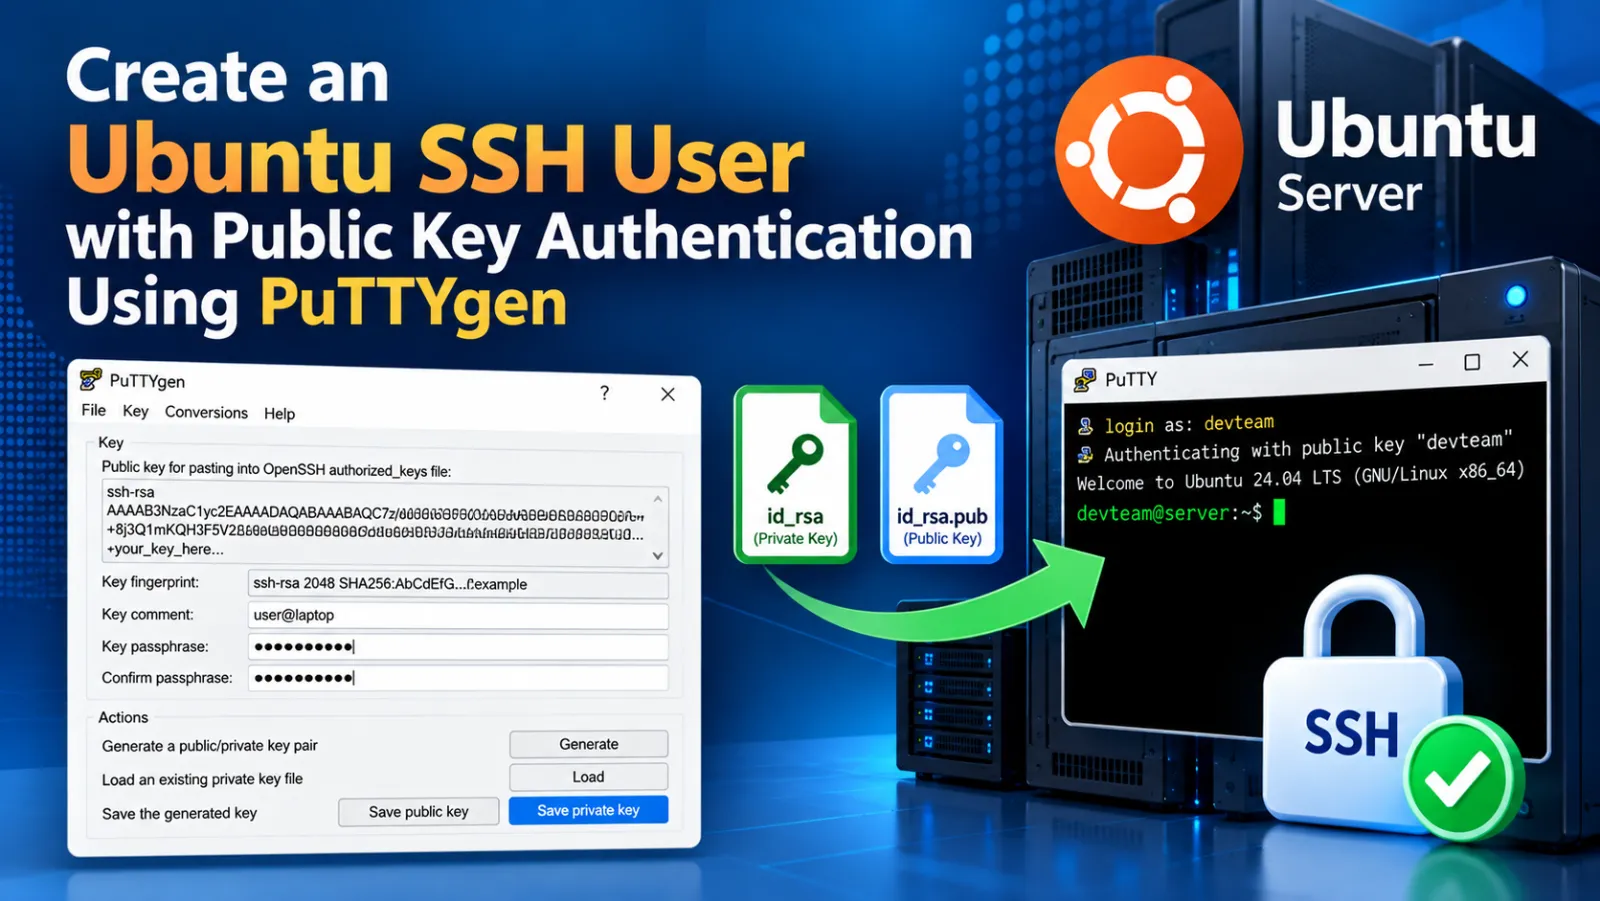
ssh-rsa AAAAB3NzaC1yc2EAAAADAQABAAABAQCPG9fRIVlHz/AwOF2eXdaQLpu5NmQZcoRsbUescX0HTyrv8P5DkTPvnjcyKtKeXQMCFHzLcJKbCU1InGagtFvbVN5XCMqedG2XqKcoYYf9rz

Now Go to server and create file create_ssh_user.sh and save below code

#!/bin/bash
# ============================================
# Create a new SSH user (without sudo access)
#
# Usage:
#   sudo ./create_ssh_user.sh devteam
# ============================================
set -e
# --------------------------------------------
# Check root
# --------------------------------------------
if [ "$EUID" -ne 0 ]; then
   echo "Please run this script as root or using sudo."
   exit 1
fi
# --------------------------------------------
# Username
# --------------------------------------------
USERNAME="${1:-devteam}"
# Basic username validation
if [[ ! "$USERNAME" =~ ^[a-z_][a-z0-9_-]*$ ]]; then
   echo "ERROR: Invalid username: $USERNAME"
   exit 1
fi
echo "========================================="
echo "Creating user: $USERNAME"
echo "========================================="
# --------------------------------------------
# Check if user already exists
# --------------------------------------------
if getent passwd "$USERNAME" >/dev/null 2>&1; then
   echo "User '$USERNAME' already exists."
else
   echo "Creating user '$USERNAME'..."
   adduser \
       --disabled-password \
       --gecos "" \
       "$USERNAME"
fi
# --------------------------------------------
# Get actual home directory
# --------------------------------------------
HOME_DIR=$(getent passwd "$USERNAME" | cut -d: -f6)
if [ -z "$HOME_DIR" ]; then
   echo "ERROR: Could not determine home directory."
   exit 1
fi
echo "Home directory: $HOME_DIR"
# --------------------------------------------
# Create SSH directory
# --------------------------------------------
mkdir -p "$HOME_DIR/.ssh"
# --------------------------------------------
# Install public key
# --------------------------------------------
echo
echo "========================================="
echo "Paste the PUBLIC KEY below."
echo "It should start with:"
echo "ssh-ed25519"
echo "or"
echo "ssh-rsa"
echo
echo "Press ENTER after the key."
echo "Press CTRL+D when finished."
echo "========================================="
cat > "$HOME_DIR/.ssh/authorized_keys"
# --------------------------------------------
# Verify key was entered
# --------------------------------------------
if [ ! -s "$HOME_DIR/.ssh/authorized_keys" ]; then
   echo
   echo "ERROR: No SSH public key was provided."
   rm -f "$HOME_DIR/.ssh/authorized_keys"
   exit 1
fi
# --------------------------------------------
# Ownership
# --------------------------------------------
chown -R "$USERNAME:$USERNAME" "$HOME_DIR/.ssh"
# --------------------------------------------
# Permissions
# --------------------------------------------
chmod 700 "$HOME_DIR/.ssh"
chmod 600 "$HOME_DIR/.ssh/authorized_keys"
# --------------------------------------------
# Disable password authentication for user
# --------------------------------------------
passwd -l "$USERNAME" >/dev/null 2>&1 || true
# --------------------------------------------
# Make sure user has no sudo privileges
# --------------------------------------------
deluser "$USERNAME" sudo >/dev/null 2>&1 || true
echo
echo "========================================="
echo "User configured successfully."
echo "========================================="
echo
echo "Username : $USERNAME"
echo "Home     : $HOME_DIR"
echo "SSH Key  : Installed"
echo "Sudo     : NO"
echo
echo "User can login using:"
echo
echo "ssh -i <private_key> $USERNAME@<SERVER_PUBLIC_IP>"
echo
echo "Verification:"
echo "-----------------------------------------"
id "$USERNAME"
echo
ls -ld "$HOME_DIR"
ls -ld "$HOME_DIR/.ssh"
ls -l "$HOME_DIR/.ssh/authorized_keys"
echo
echo "========================================="
echo "DONE"
echo "========================================="

Sudo chmod +x create_ssh_user.sh
sudo ./create_ssh_user.sh devteam


For permission you can execute following command.

sudo usermod -aG www-data devteam
sudo usermod -aG sudo devteam

Discussion (0)