
Install PHP, Apache and MySQL Automatically on Ubuntu (LAMP)
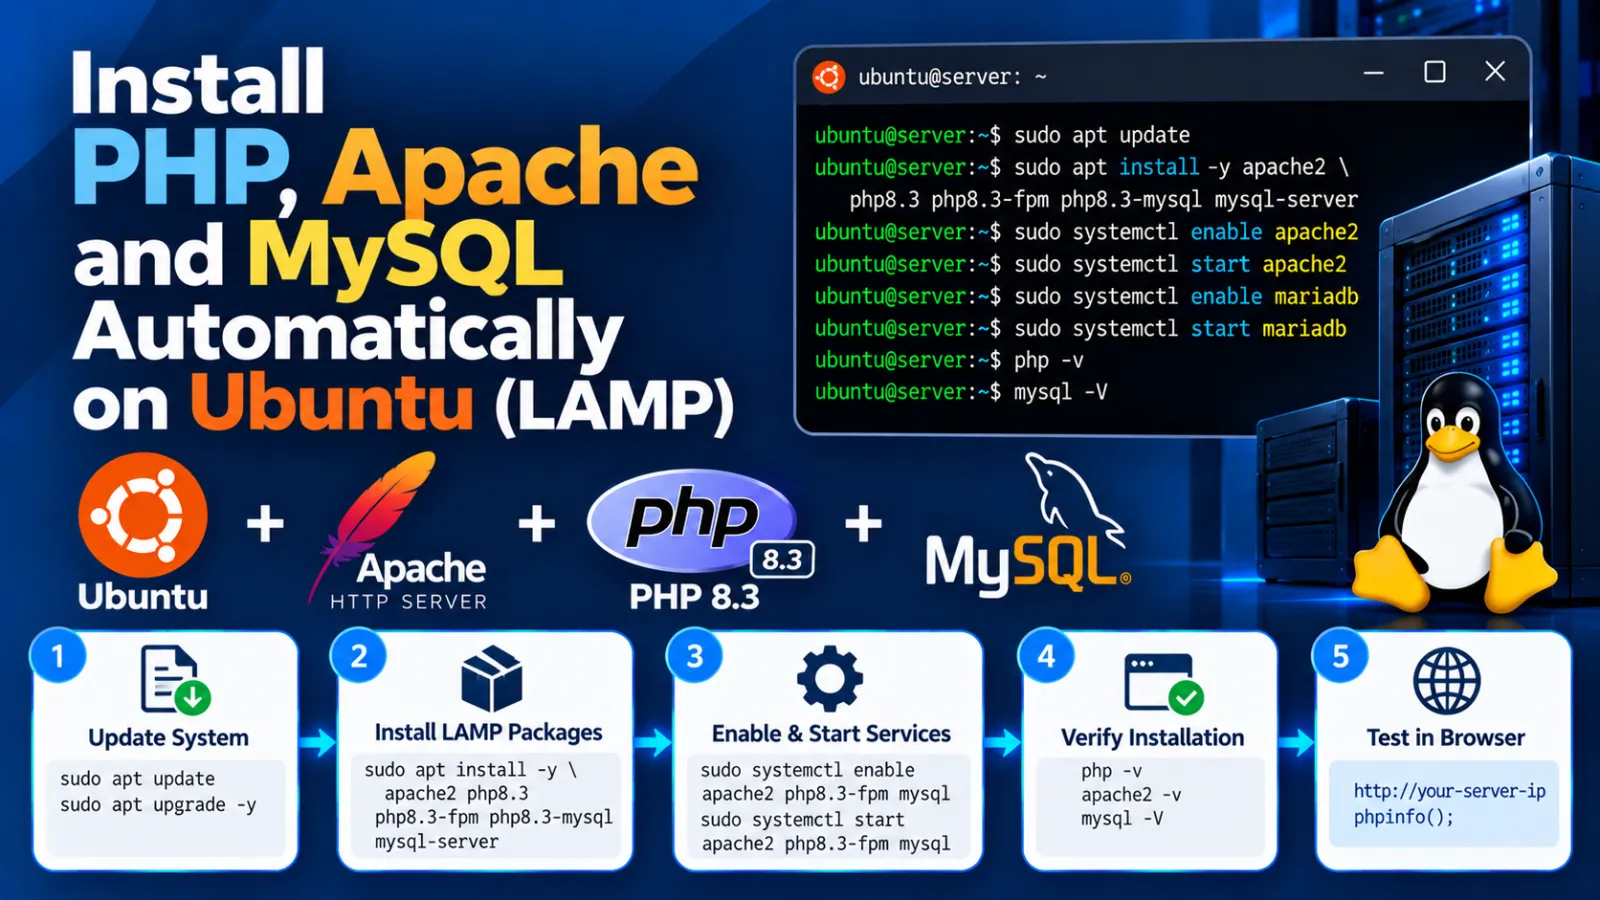
Install PHP, Apache and MySQL Automatically on Ubuntu
This tutorial shows how to automate a basic Apache + PHP 8.3 + MySQL server setup on Ubuntu using one Bash script.
What the Script Installs
- Apache Web Server
- PHP 8.3 with common extensions
- PHP-FPM
- MySQL Server
- Useful Linux utilities
- Apache modules such as rewrite, SSL, headers and proxy_fcgi
- Basic PHP and MySQL configuration
- UFW rules for SSH, Apache and FTP-related ports
1. Create the Script
Create a file such as install_lamp.sh:
nano install_lamp.shPaste the following script:
#!/bin/bash

# Update system
sudo apt update && sudo apt upgrade -y

# Set timezone
sudo timedatectl set-timezone Asia/Kolkata

# Basic utilities
sudo apt install -y tar wget zip unzip vim curl htop gzip software-properties-common

# Apache
sudo apt install -y apache2

# PHP repository
sudo add-apt-repository ppa:ondrej/php -y
sudo apt update

# PHP 8.3 and extensions
sudo apt install -y \
php8.3 \
libapache2-mod-php8.3 \
php8.3-mbstring \
php8.3-gettext \
php8.3-mysql \
php8.3-curl \
php8.3-xml \
php8.3-imagick \
php8.3-gd \
php8.3-bcmath \
php8.3-bz2 \
php8.3-imap \
php8.3-intl \
php8.3-zip \
php8.3-fpm \
php8.3-pear \
php8.3-pspell \
php8.3-sqlite3 \
php8.3-xsl \
php8.3-memcached \
php8.3-xmlrpc

# ImageMagick
sudo apt install -y imagemagick libgtkglext1

# Apache modules
sudo a2enmod actions proxy_fcgi setenvif rewrite ssl headers
sudo a2enconf php8.3-fpm

# Enable PHP-FPM
sudo systemctl enable php8.3-fpm
sudo systemctl start php8.3-fpm

# Set PHP 8.3 as default CLI version
sudo update-alternatives --set php /usr/bin/php8.3

if [ -f /usr/bin/phar8.3 ]; then
    sudo update-alternatives --set phar /usr/bin/phar8.3
fi

if [ -f /usr/bin/phar.phar8.3 ]; then
    sudo update-alternatives --set phar.phar /usr/bin/phar.phar8.3
fi

# MySQL
sudo apt install -y mysql-server

# Create MySQL administrative user
MYSQL_ADMIN_USER='adminuser'
MYSQL_ADMIN_PASSWORD='CHANGE_THIS_PASSWORD'

sudo mysql <<EOF
CREATE USER IF NOT EXISTS '${MYSQL_ADMIN_USER}'@'localhost'
IDENTIFIED BY '${MYSQL_ADMIN_PASSWORD}';

GRANT ALL PRIVILEGES ON *.* TO '${MYSQL_ADMIN_USER}'@'localhost'
WITH GRANT OPTION;

FLUSH PRIVILEGES;
EOF

# Set MySQL root password
MYSQL_ROOT_PASSWORD='CHANGE_THIS_ROOT_PASSWORD'

sudo mysql <<EOF
ALTER USER 'root'@'localhost'
IDENTIFIED WITH mysql_native_password BY '${MYSQL_ROOT_PASSWORD}';

FLUSH PRIVILEGES;
EOF

# Verify MySQL
mysql -u root -p"${MYSQL_ROOT_PASSWORD}" -e "SELECT VERSION();" >/dev/null 2>&1

if [ $? -eq 0 ]; then
    echo "Root password configured successfully"
else
    echo "Root password configuration failed"
    exit 1
fi

mysql -u "${MYSQL_ADMIN_USER}" -p"${MYSQL_ADMIN_PASSWORD}" \
-e "SHOW DATABASES;" >/dev/null 2>&1

if [ $? -eq 0 ]; then
    echo "Admin user created successfully"
else
    echo "Admin user creation failed"
    exit 1
fi

# MySQL configuration
sudo tee -a /etc/mysql/mysql.conf.d/mysqld.cnf > /dev/null <<EOF

[mysqld]
sql_mode=IGNORE_SPACE,NO_ZERO_IN_DATE,NO_ZERO_DATE,ERROR_FOR_DIVISION_BY_ZERO,NO_ENGINE_SUBSTITUTION
innodb_buffer_pool_size=512M
innodb_redo_log_capacity=256M
innodb_log_buffer_size=256M
EOF

# PHP Apache configuration
sudo sed -i 's/memory_limit = .*/memory_limit = 256M/' /etc/php/8.3/apache2/php.ini
sudo sed -i 's/post_max_size = .*/post_max_size = 128M/' /etc/php/8.3/apache2/php.ini
sudo sed -i 's/upload_max_filesize = .*/upload_max_filesize = 128M/' /etc/php/8.3/apache2/php.ini

# PHP-FPM configuration
sudo sed -i 's/memory_limit = .*/memory_limit = 256M/' /etc/php/8.3/fpm/php.ini
sudo sed -i 's/post_max_size = .*/post_max_size = 128M/' /etc/php/8.3/fpm/php.ini
sudo sed -i 's/upload_max_filesize = .*/upload_max_filesize = 128M/' /etc/php/8.3/fpm/php.ini

# Apache directory configuration
sudo sed -i '/<Directory \/var\/www\/>/,/Require all granted/c\
<Directory /var/www/>\
    Options Indexes FollowSymLinks\
    AllowOverride All\
    Require all granted\
</Directory>' /etc/apache2/apache2.conf

# Firewall
sudo ufw allow ssh
sudo ufw allow 'Apache'
sudo ufw allow OpenSSH


# Restart services
sudo systemctl restart apache2
sudo systemctl restart mysql
sudo systemctl restart php8.3-fpm

echo "Script execution completed successfully!"
echo "Installation completed."
2. Make the Script Executable
chmod +x install_lamp.sh3. Run the Installation
sudo ./install_lamp.sh4. Check the Installation
Check Apache:
systemctl status apache2Check PHP:
php -vCheck PHP-FPM:
systemctl status php8.3-fpmCheck MySQL:
mysql --version
sudo systemctl status mysql
5. Test PHP with Apache
sudo nano /var/www/html/info.phpAdd:
<?php
phpinfo();
?>
Open:
http://YOUR_SERVER_IP/info.phpAfter testing, remove the file:
sudo rm /var/www/html/info.phpImportant
Replace CHANGE_THIS_PASSWORD and CHANGE_THIS_ROOT_PASSWORD before running the script. Do not publish real MySQL passwords inside a tutorial or Git repository.
Suggested category: Linux / Ubuntu
Discussion (0)